Yogurt is a great source of probiotics to maintain good gut health. Yogurt has always been a favorite of mine since I was a teen. Many times, I’d just have a container of yogurt for lunch when I wanted something light to eat. Well, when I was a teen, it was many moons ago. I’m a grandmother now and still enjoy yogurt for different reasons. Main reason is to keep my gut healthy. After my bout with breast and thyroid cancer, I need to keep my immune system strong. Keeping my gut healthy is a sure fire way of doing that.
However, it becomes rather disheartening when shopping now that it’s so difficult to find a brand of yogurt that doesn’t have some sort of junk in it. Many brands contain pectin, xanthan gum, gelatin, or some type of starch in it to make it thicker and taste creamier, especially in the lowfat or nonfat yogurts. Also, many times, sugar and/or high fructose corn syrup is added to sweeten it along with the fruit. When I was a teen, the yogurt had real fruit preserves in it and the preserves were sweetened with real cane sugar. Now, many yogurts just add a tiny bit of fruit flavor and sweeten it with high fructose corn syrup or corn syrup solids. So after much disappointment, I decided to make my own homemade yogurt. I didn’t have a yogurt maker, so I started out making it in a crock pot. However, it required me to keep watching it to maintain the right temp. I had to stay home all day just to keep watch over the yogurt. It was nothing short of frustrating.
Then a miracle happened! If it wasn’t a miracle, then it was just absolute perfect timing. My husband broke my over the stove pressure cooker and I needed to get a new one, so out of guilt, he gave me cart blanche to buy whatever I wanted in terms of a pressure cooker. Well, not only did I find a pressure cooker, I found a yogurt maker, rice maker, chicken cooker, pot roast maker, vegetable steamer, and egg cooker all and a host of other uses rolled into one. This revolutionary miracle is the Instant Pot It’s so easy to make homemade yogurt in it and you don’t need to babysit it to maintain the temp. It maintains the correct temp for culturing your homemade yogurt.
This, indeed, was a game changer!
Ok, enough talk, let’s get down to it.
WHAT YOU’LL NEED:
1 gallon Milk (I use raw milk, but if that’s not available, you can use pasteurized. Make sure it’s not ULTRA pasteurized. I enjoy using raw milk because it’s whole milk that hasn’t been homogenized and the cream floats to the top. Please don’t worry about the milk fat.
About 1/4 cup plain whole milk yogurt to use as your starter. Bring it to room temp. Please choose a starter yogurt that has at least 5 active cultures listed. I use Stoneyfield Probiotic Organic whole milk yogurt, which boasts 6 active cultures. Whatever brand you use, just make sure it has at least 5 active cultures and only contains Milk and cultures. Nothing else!
One thermometer (a candy thermometer will do).
A large stock pot in which you can fit a colander or steamer basket inside.
Either a large flour sack towel (non terry cloth), or cheesecloth.
WHAT TO DO:
Pour the gallon of milk into the liner pot of your Instant Pot. Cover the pot and press the yogurt button. On the older model Instant Pot, the next step would be to press the “Adjust” button once and the display will blink “boil.” Unfortunately I lost my older model Instant Pot in a house fire back in 2020. So now, with the newer model, you need to press the “Yogurt” button twice or three times, until it blinks “boil.”
Ok, then, you’re all set.
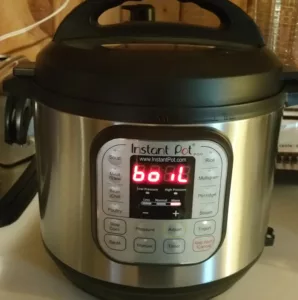
When it is done, it will display “Yogt” on the older model and “End” on the newer model.
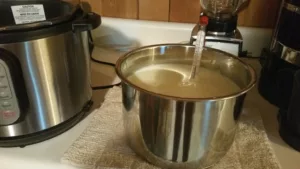
Check the temp of the milk and make sure it’s 180. If it’s not, then put cover back on pot and set it to boil again. Do this until you reach a temp of at least 180. Then, remove lid from pot and remove the inner pot of hot milk from the Instant Pot. Be careful and use pot holders or oven mitts when removing inner pot. It is HOT!!
Next step is to cool the milk down to around 110. You can let it cool down by itself, but it will take a while.
To help it go much quicker, I place the pot of hot milk in an ice water bath in the kitchen sink. Then I just swirl the ice water around the pot and I stir the milk inside the pot as well. This method usually only takes about 15 minutes. Be sure you keep your eye on the temp. Only bring it down to 110 degrees.
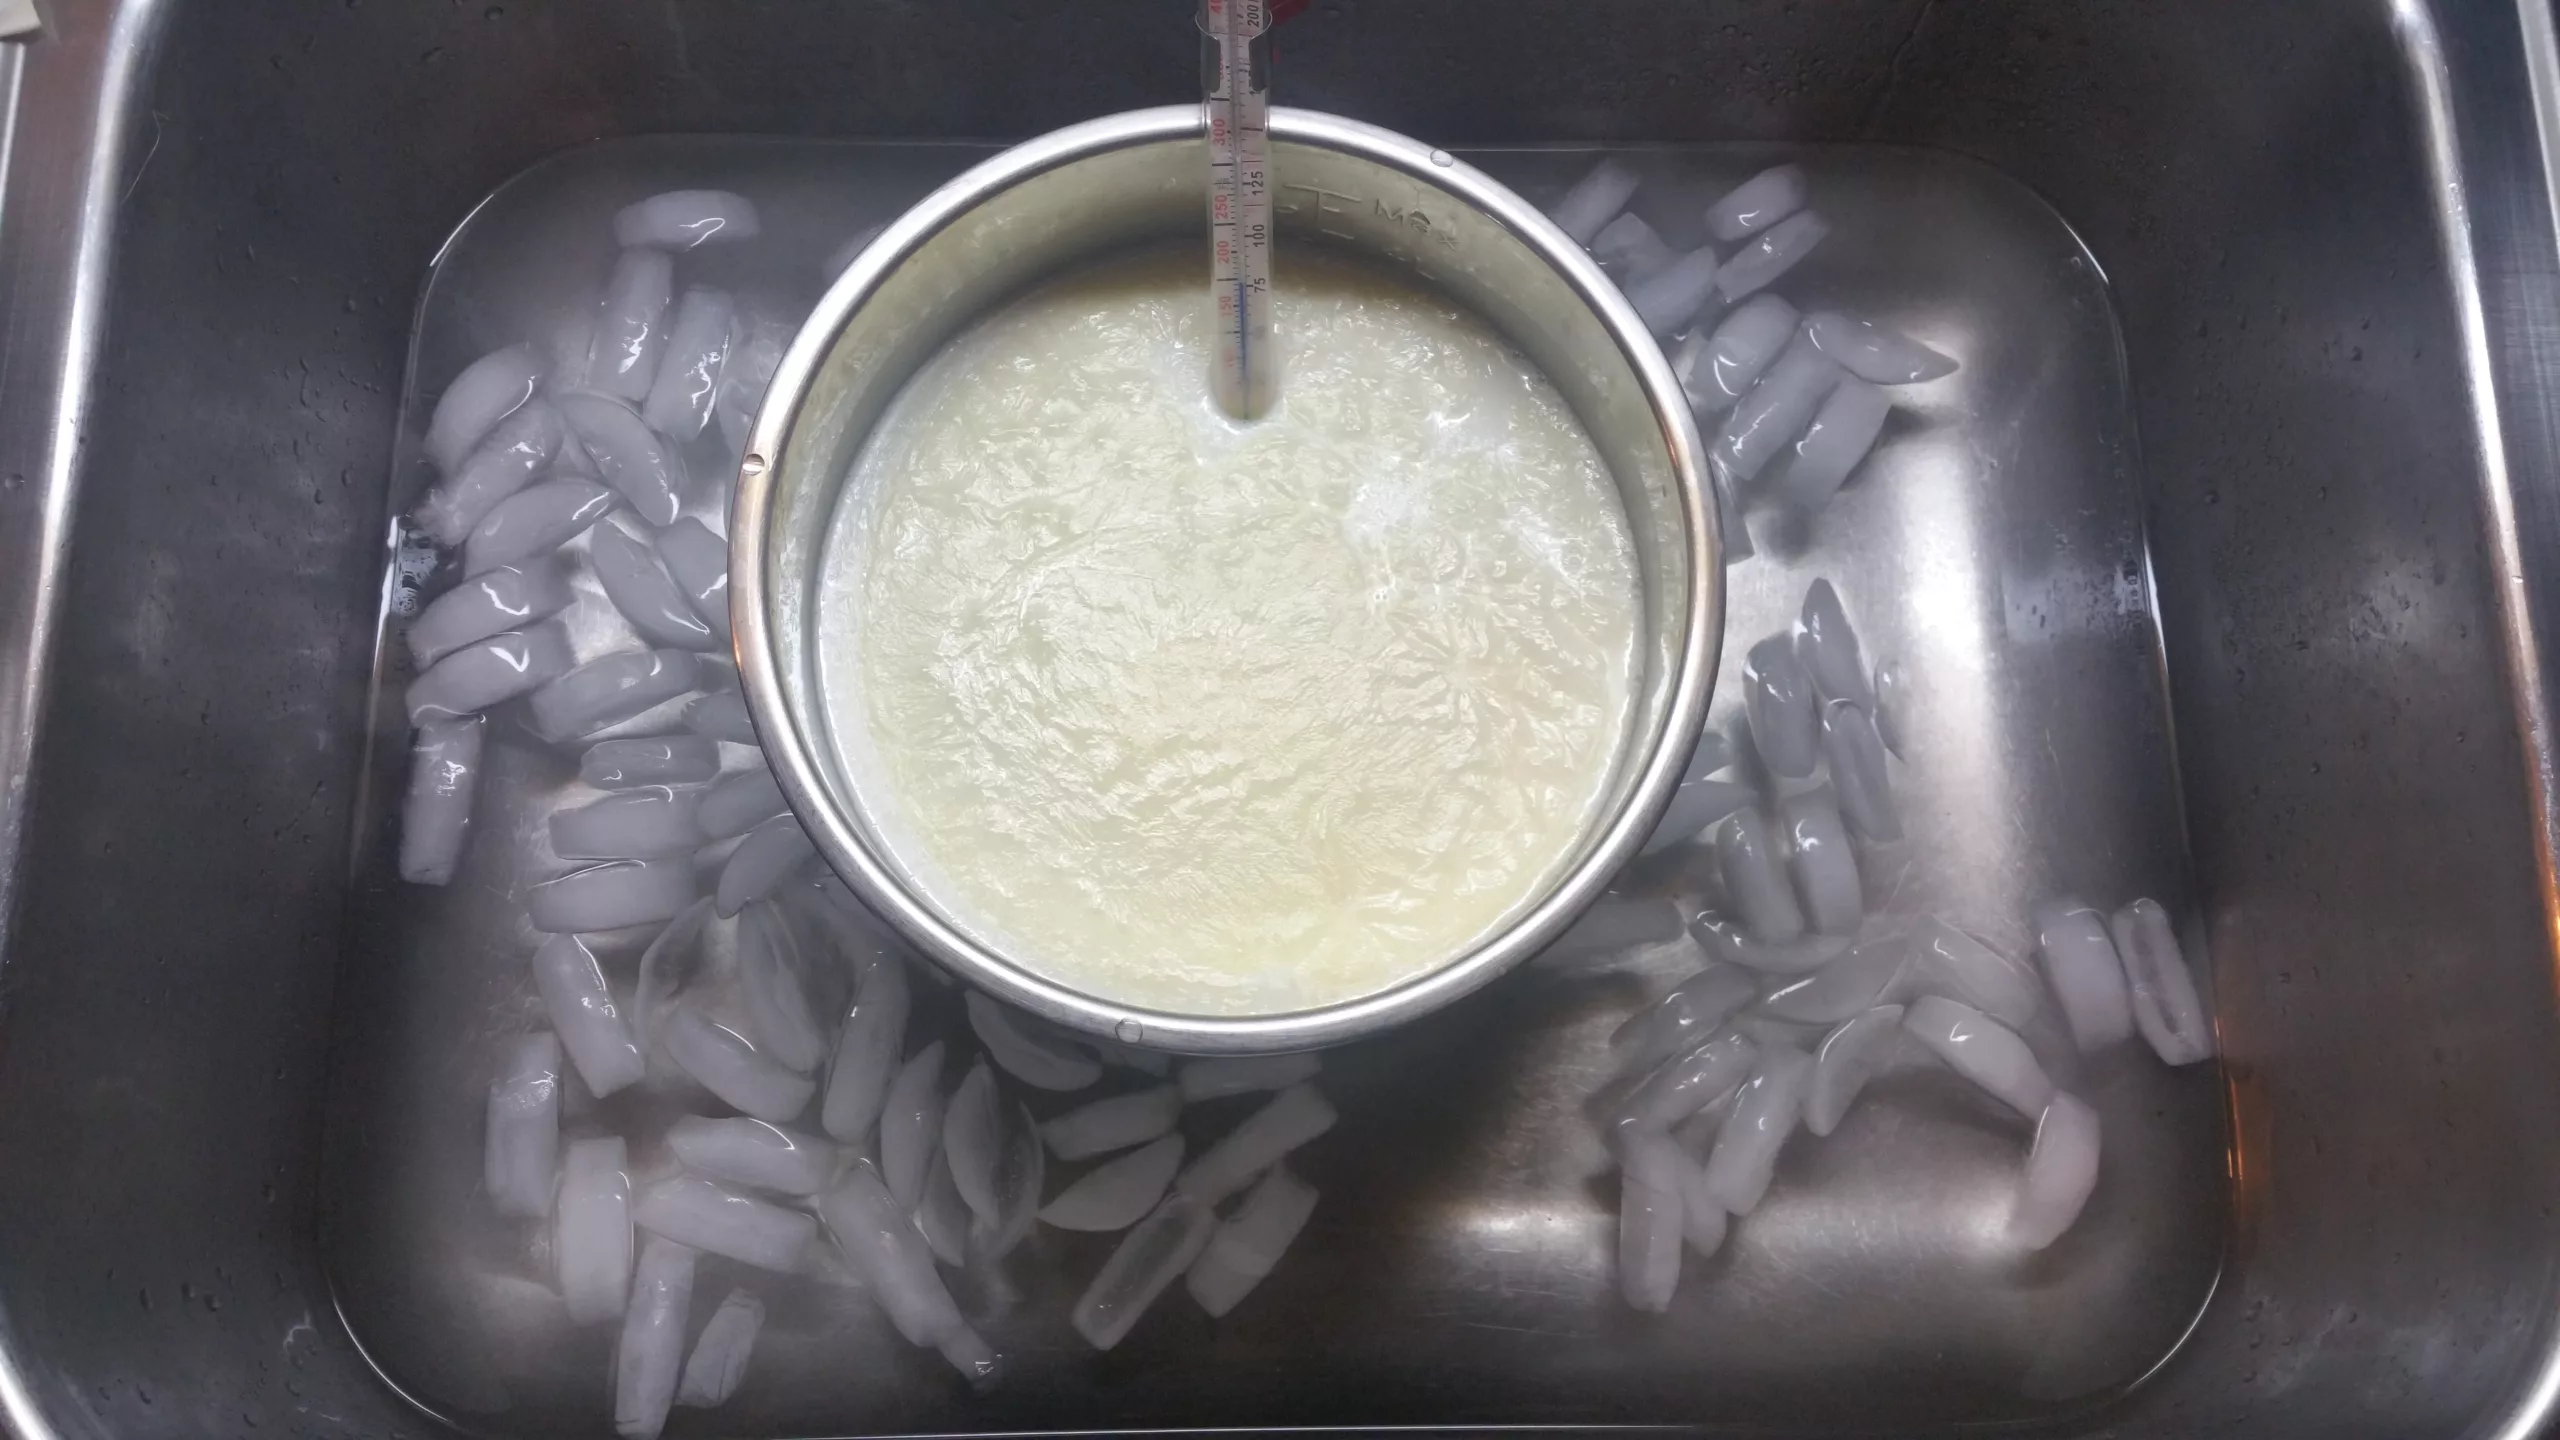
When the milk has reached it’s desired temp of 110 F, remove it from the ice water and place the pot on a towel to dry off the bottom and sides of the pot. In a small bowl, place your room temp starter yogurt and take spoonfuls of the warm milk and add it to your starter. Stir it together to blend to neutralize the temp. Add the mixture to your pot of warm milk. Temperature of mixture should be between 97 and 110 F.
Note: If you want even creamier yogurt, add a cup of heavy cream. But be sure to bring it to room temperature. After the milk reaches the desired temperature range, mix your yogurt starter culture with the cream, and a few spoonfuls of the cooled boiled milk. Add it to the pot and proceed to culture.
Place the mixture in your Instant Pot, and close the lid. Press the yogurt button. Please note that older models have a memory feature that will remember the same settings as previously. So when you press the yogurt button the display will automatically blink Boil. When that happens, press the Adjust button twice. The first time will display 24:00 and the second time will display 8:00. However, on the newer models, it will display 9:00 then press again, it will display 8:00. That is for the time you’d like to leave your yogurt to culture. You can leave it on 8:00 if you choose to culture your yogurt for 8 hours. Or you can leave it at 9:00 to let it culture for 9 hours. I usually set it for 9 hours. It comes out a little thicker. Some people set it for 10 hours, and in that case, you can press the “+” button. The longer the time, the thicker the yogurt.
At that point, the Instant Pot will beep and will display 00:00 because it counts UP, not down.
I use my Instant Pot during the day, so I set my yogurt to culture overnight. By the time I wake the next morning, it’s ready to go.
When it’s done, the display will read “Yogt” on the older models and on the newer models, it will display “End.” You can either take your homemade yogurt out and spoon it into mason jars, or strain it to make it thicker, like Greek yogurt. If you decide to strain your homemade yogurt, put your colander inside the large pot and place the towel or cheesecloth over the pot. Pour or spoon the yogurt into the pot and let it sit until it reaches desired thickness.
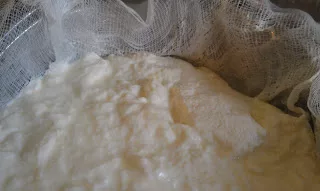
Here’s a pic of my thickened homemade yogurt. Doesn’t it look yummy??
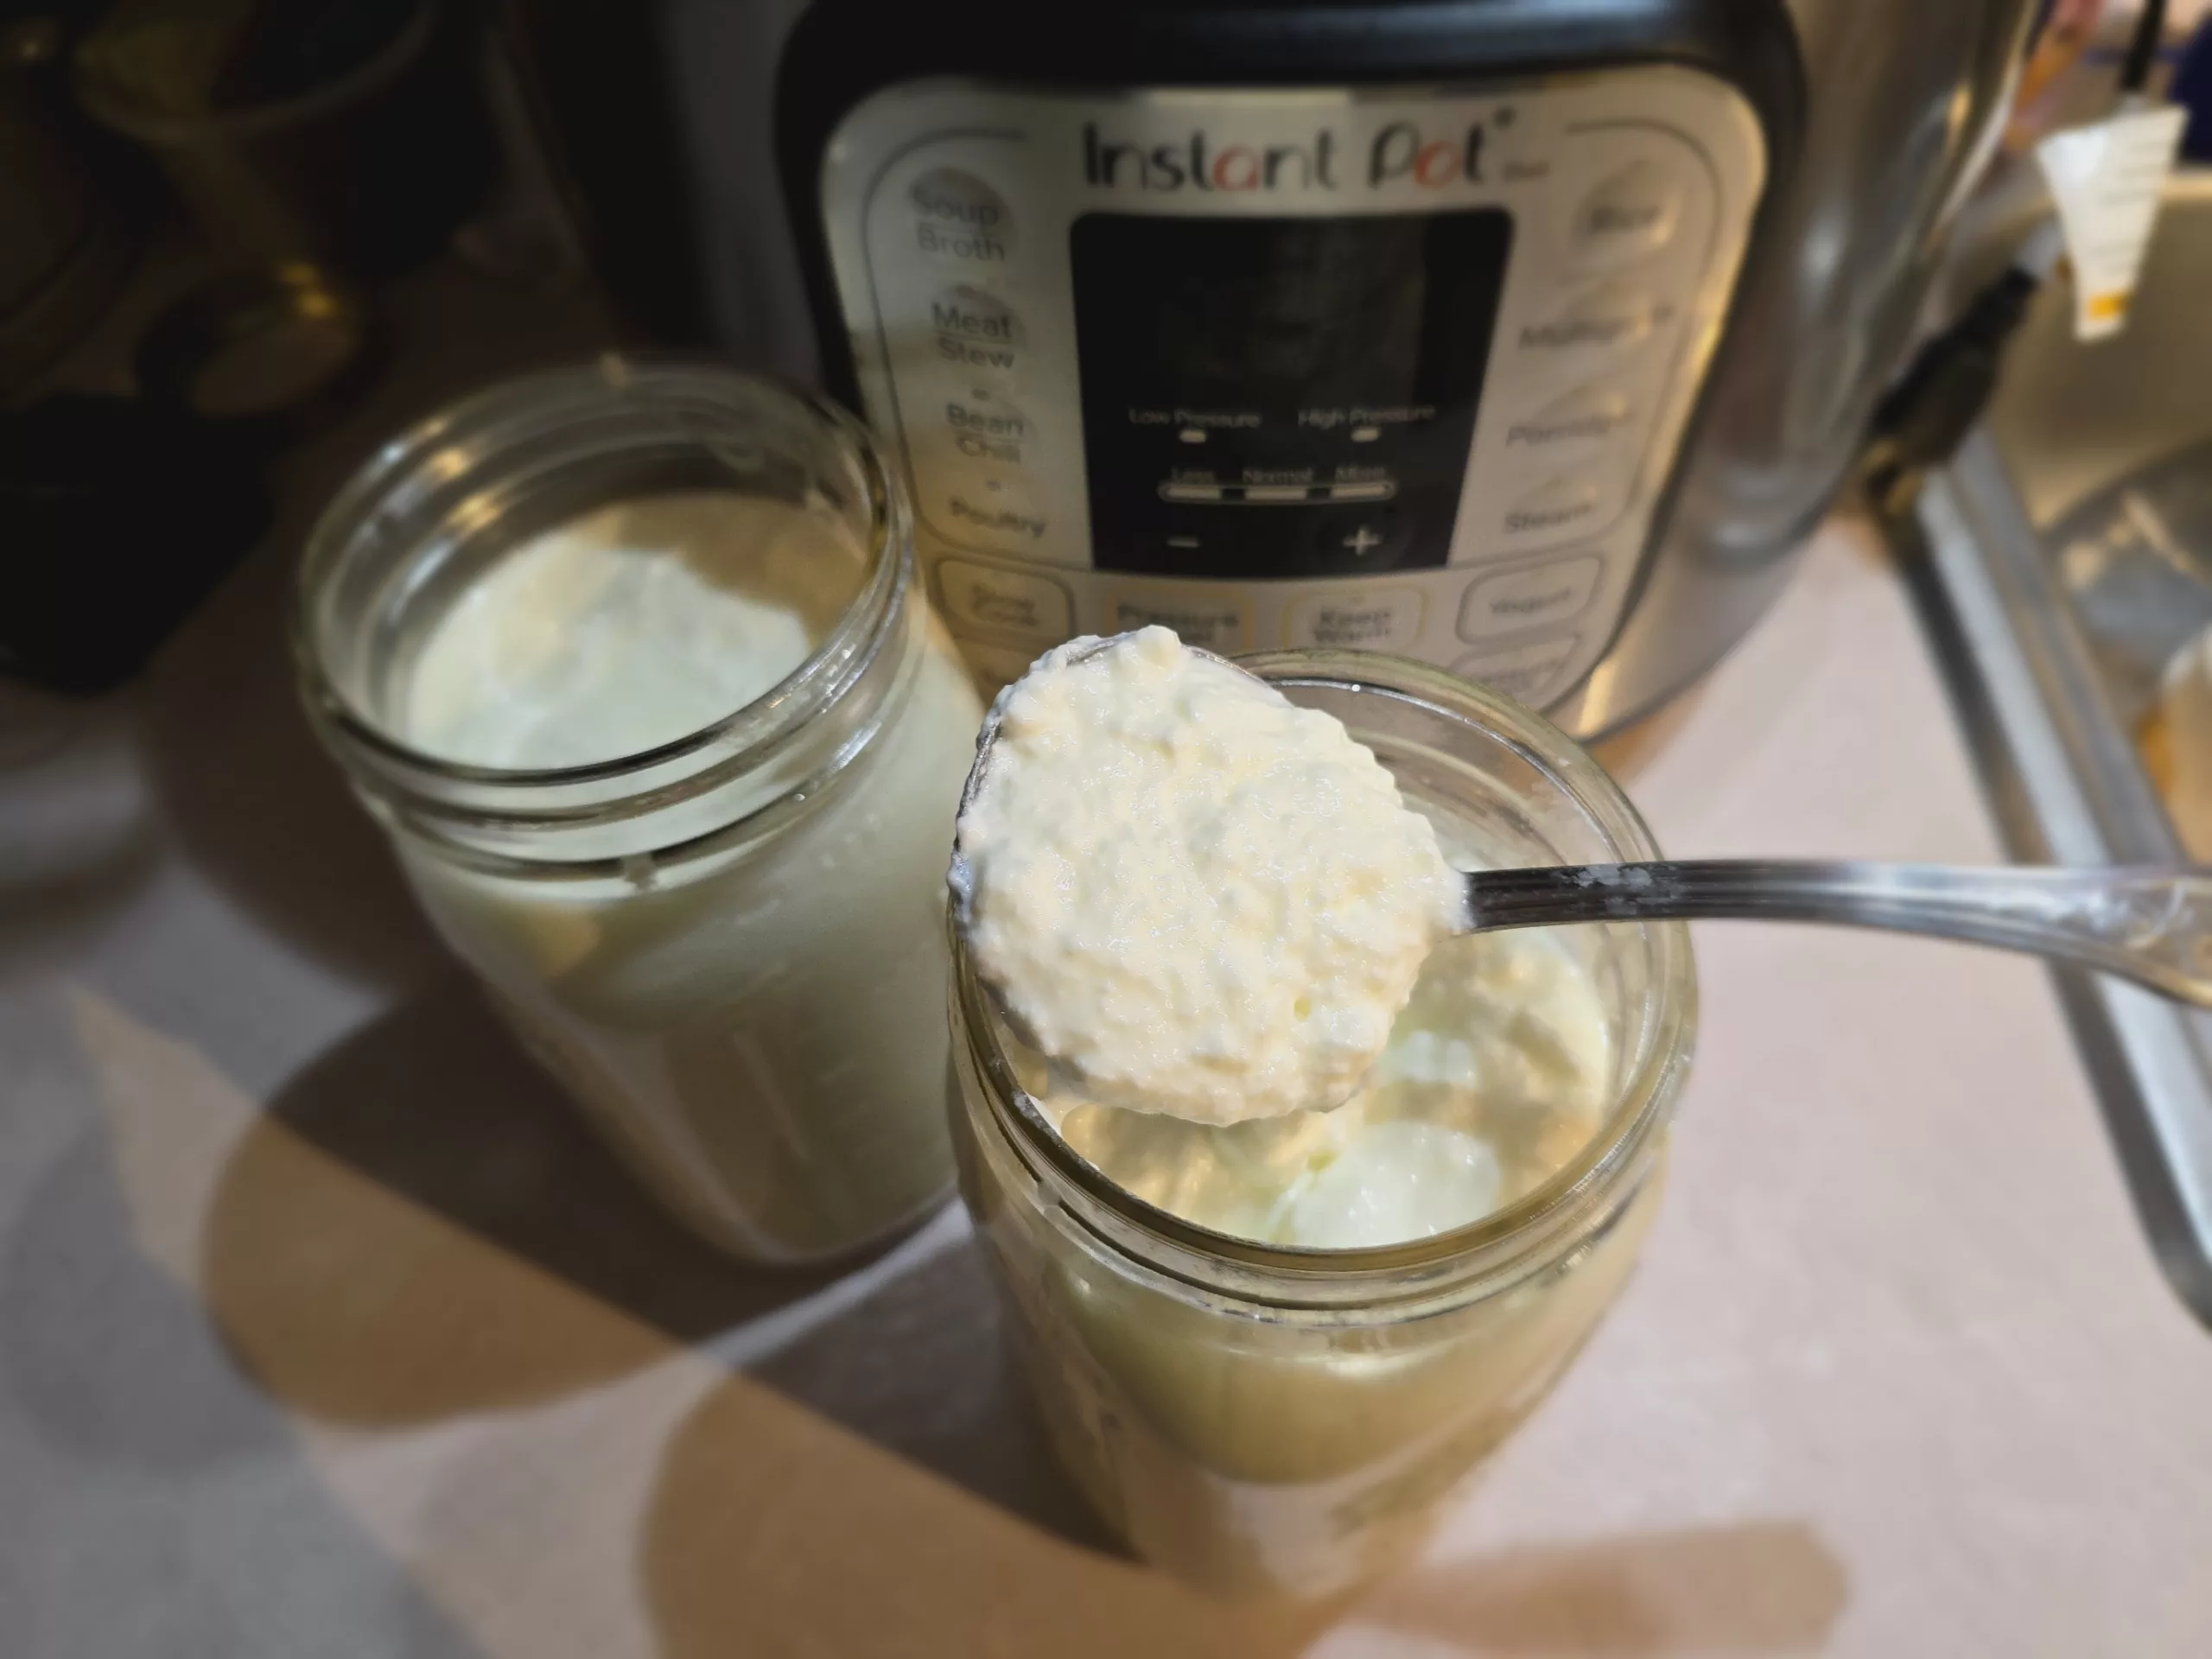
I usually yield about 2 1/2 quarts of yogurt and about 1 1/2 quarts of whey. Please do NOT throw out the whey. You will need it to make lacto fermented recipes, like the recipe for Kimchi or for the recipe for Lacto-Fermented Ketchup Just place it in a quart jar and refrigerate it.
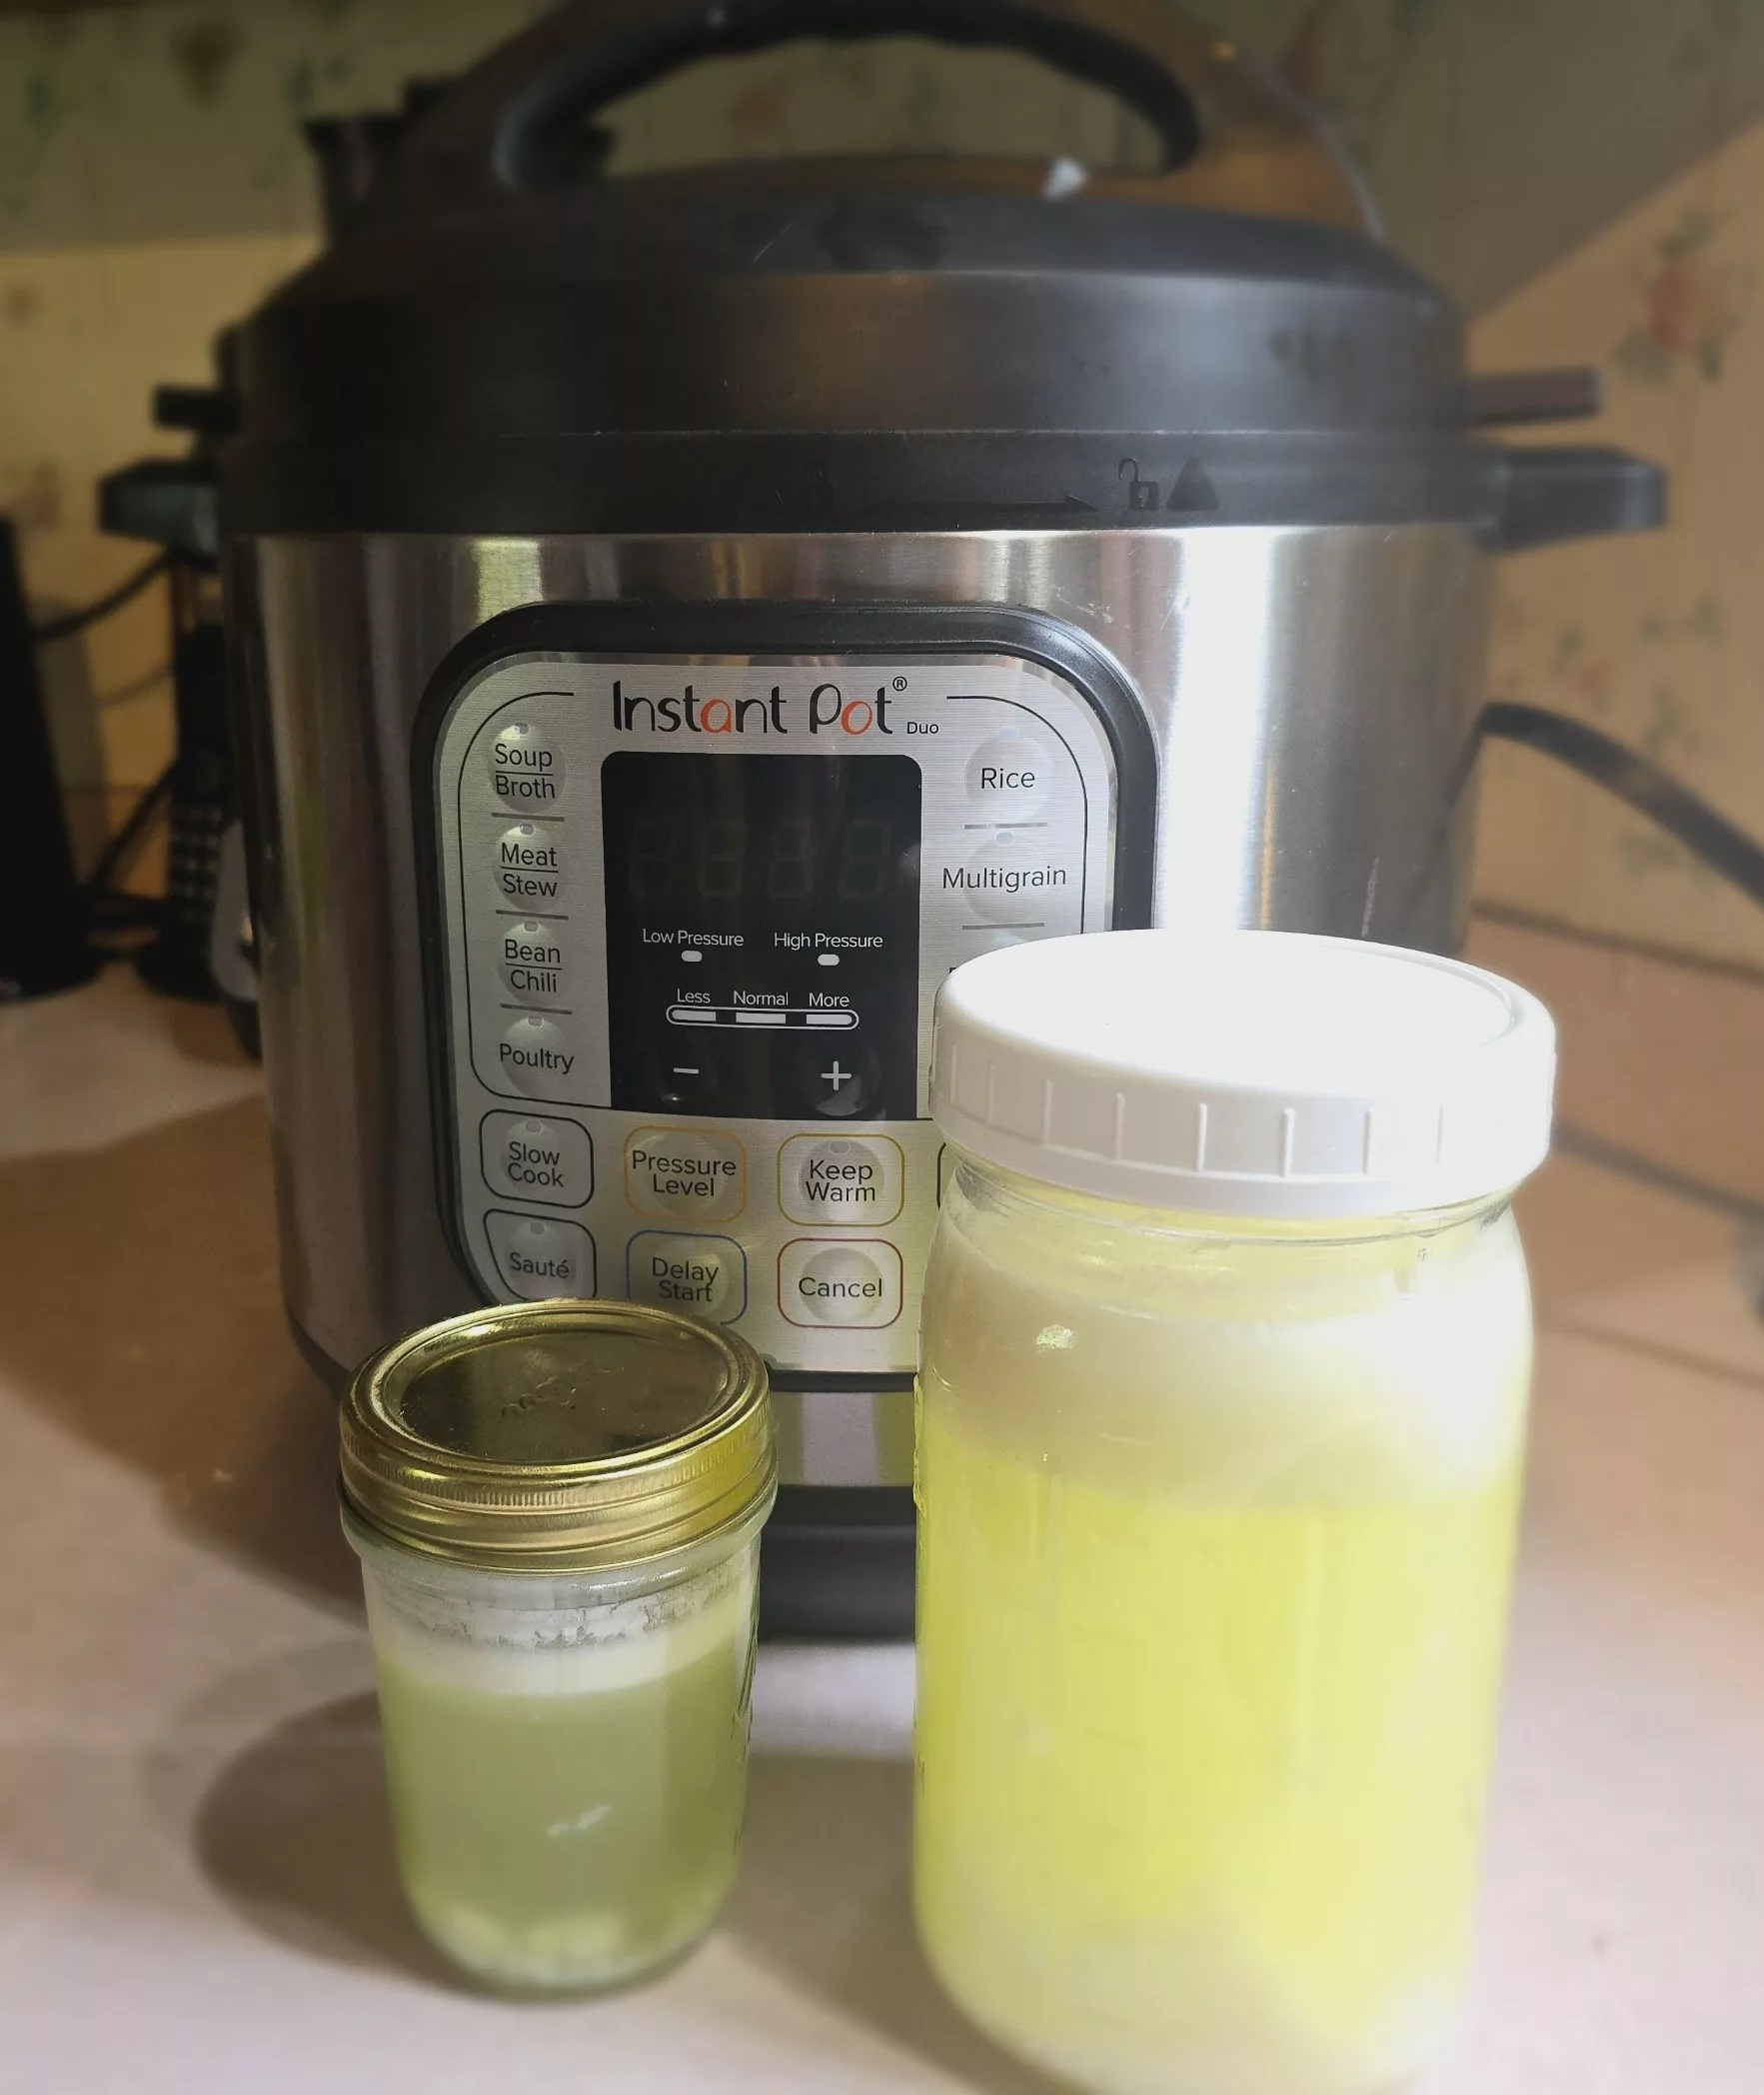
It will keep in the fridge for 6 months. I make yogurt once a week, so I usually have tons of whey that I know I won’t use up just on lacto fermentation. I give what I don’t use to my dog. She loves it and it’s good for her. I also use whey in smoothies or pancake batter.
I hope you enjoy this recipe and I hope you enjoy making your own homemade yogurt. I know I was scared at first, but after my first batch, I was hooked!!
Bon Appetit!

